
Tired of drafts and sky-high energy bills? Spray foam insulation might just be the superhero your home needs. This incredible material expands to fill every nook and cranny, creating an airtight seal that traditional insulation can only dream of. While professional installation is common, the adventurous DIYer can tackle smaller projects. Let’s dive into the world of spray foam and how you can get started.
Why Choose Spray Foam?
Before we get into the “how,” let’s quickly touch on the “why.” Spray foam boasts some serious advantages:
- Superior Sealing: It creates an airtight barrier, eliminating drafts and reducing air leakage – a major source of energy loss.
- High R-Value: Spray foam offers a higher R-value (resistance to heat flow) per inch compared to fiberglass or cellulose. This means better insulation with less material.
- Moisture Barrier: Closed-cell spray foam is impermeable to water, helping to prevent mold and mildew growth.
- Increased Structural Integrity: Some types of spray foam can add rigidity to walls and roofs.
- Noise Reduction: The dense nature of spray foam helps dampen sound transmission.
Types of Spray Foam
Understanding the different types is crucial for your DIY project:
- Closed-Cell Spray Foam: This type is dense and rigid, with closed cells that trap the blowing agent. It offers a high R-value, acts as a moisture barrier, and adds structural strength. It’s generally more expensive and requires more expertise to install correctly.
- Open-Cell Spray Foam: This type has open cells, giving it a spongy texture. It offers good insulation and sound dampening qualities but is less dense, has a lower R-value per inch, and is permeable to moisture. It’s typically more affordable and easier to work with for DIYers on smaller projects.
For most DIY projects, open-cell spray foam is the more accessible option.
DIYing Spray Foam: What You’ll Need
Venturing into the world of DIY spray foam requires careful preparation and the right equipment:
- Spray Foam Kit: These kits typically come with two tanks (isocyanate and polyol resin), hoses, a spray gun with various nozzle tips, and instructions. Choose a kit size appropriate for your project.
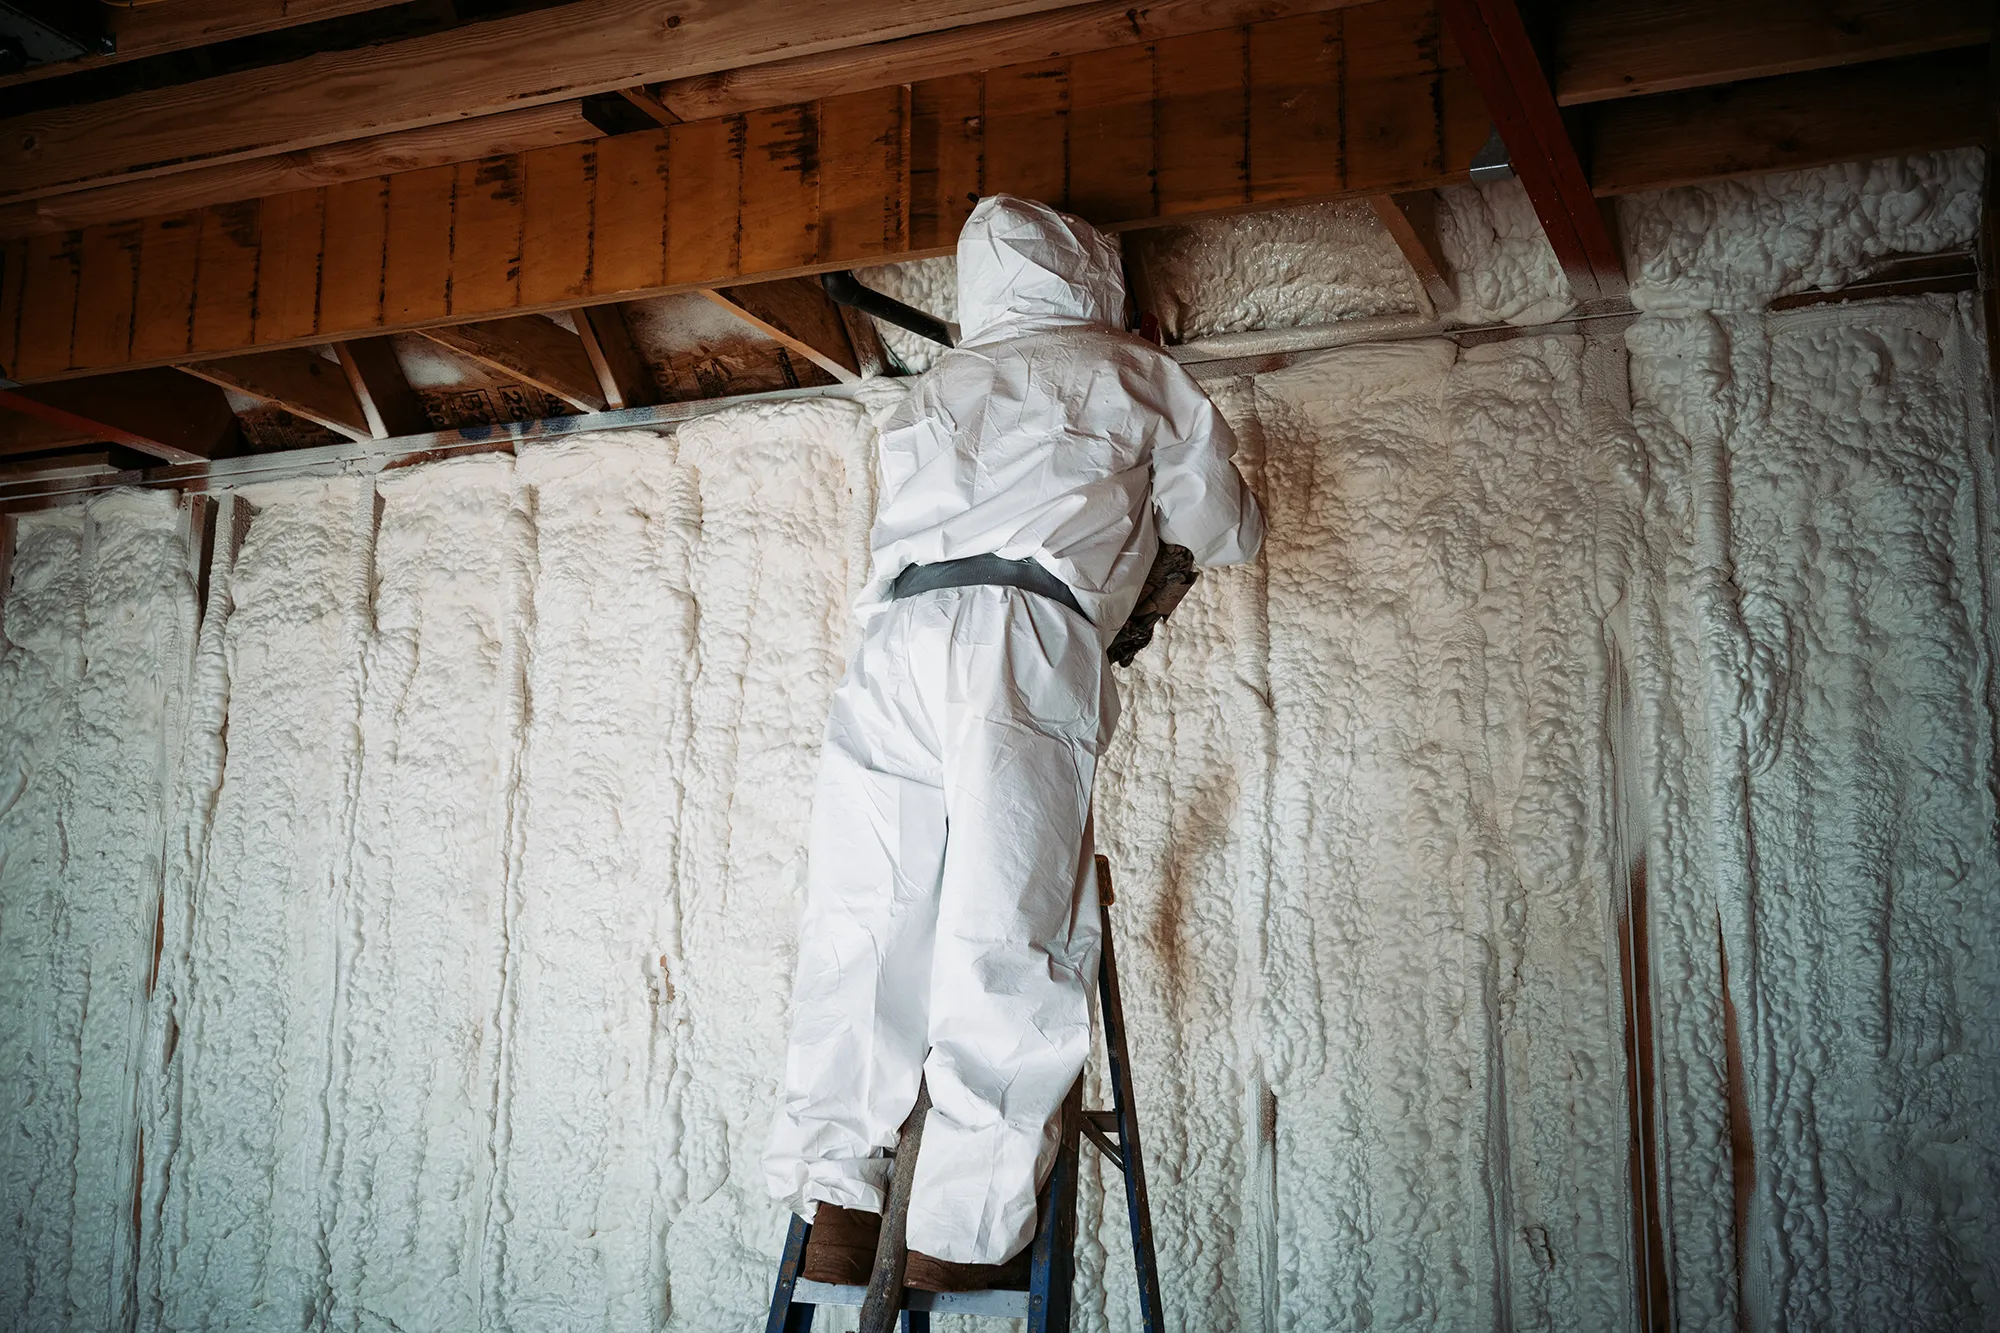
- Personal Protective Equipment (PPE): This is non-negotiable! You’ll need:
- Respirator: Specifically designed for isocyanates. A basic dust mask won’t cut it.
- Full Body Suit (Tyvek suit): To protect your skin from the sticky foam.
- Gloves: Chemical-resistant gloves.
- Eye Protection: Goggles or a full face shield.
- Ventilation: Ensure the work area is well-ventilated. Open windows and use fans if necessary.
- Drop Cloths or Plastic Sheeting: Spray foam sticks to everything! Protect surrounding surfaces.
- Painter’s Tape: To mask off areas you don’t want to spray.
- Utility Knife or Saw: For trimming excess foam once it has cured.
- Cleaning Supplies: Acetone or a specialized spray foam cleaner for cleaning the spray gun and any accidental spills immediately. Once cured, it’s very difficult to remove.
The DIY Spray Foam Process: Step-by-Step
- Preparation is Key:
- Thoroughly clean the area you’ll be insulating. Remove any dust, debris, or loose materials.
- Ensure the surface is dry.
- Mask off any areas you don’t want to spray, such as windows, doors, and electrical boxes.
- Lay down drop cloths to protect floors and furniture.
- Ensure adequate ventilation.
- Setting Up Your Spray Foam Kit:
- Carefully read the manufacturer’s instructions. Each kit may have slightly different setup procedures.
- Connect the hoses to the tanks and the spray gun, ensuring they are securely attached.
- Some kits require you to agitate the tanks before use. Follow the instructions carefully.
- Attach the appropriate nozzle tip for your application.
- Testing the Spray:
- Before spraying your intended surface, practice on a piece of cardboard or scrap material. This will help you get a feel for the spray pattern and flow rate. Adjust the nozzle as needed.
- Applying the Spray Foam:
- Hold the spray gun at the recommended distance from the surface (usually specified in the kit instructions).
- Apply the foam in even, overlapping passes. For open-cell foam, you’ll typically apply it in thicker layers as it will expand. For closed-cell foam, thinner, multiple passes are usually recommended.
- Be mindful of the expansion rate of the foam. Don’t overfill cavities in one go, as it can create pressure and potentially damage surrounding structures.
- Allowing the Foam to Cure:
- Once you’ve applied the desired amount of foam, allow it to cure completely according to the manufacturer’s instructions. This can take anywhere from a few hours to a day.
- Trimming Excess Foam:
- After the foam has fully cured, use a utility knife or saw to trim any excess foam that may be protruding beyond the desired level.
- Cleanup:
- Clean the spray gun and hoses immediately after use according to the kit instructions. Once the foam cures inside the gun, it’s very difficult to remove and can render the gun unusable. Dispose of empty tanks and used PPE properly.
Important Considerations and Safety Precautions
- Ventilation is paramount. Isocyanates in spray foam can be harmful if inhaled. Ensure good airflow during and after application until the foam is fully cured.
- Always wear appropriate PPE. This isn’t a step to skip. Protecting your skin, eyes, and lungs is crucial.
- Read the manufacturer’s instructions thoroughly. Each spray foam kit is different, and following the specific instructions is essential for proper application and safety.
- Consider the size and complexity of your project. Large or intricate projects might be better left to professionals.
- Be aware of fire hazards. While cured spray foam is generally not a significant fire risk, the blowing agents in some types can be flammable during application. Follow safety guidelines carefully and avoid open flames or sparks in the work area.
- Local building codes: Check your local building codes and regulations regarding insulation materials and installation.
Is DIY Spray Foam Right for You?
DIY spray foam can be a cost-effective solution for smaller insulation projects, offering the benefits of superior sealing and energy efficiency. However, it requires careful planning, adherence to safety precautions, and a willingness to learn and follow instructions. For larger or more complex projects, or if you’re uncomfortable working with chemicals and specialized equipment, hiring a professional spray foam contractor is always a wise choice.
By understanding the process, gathering the necessary materials, and prioritizing safety, you can successfully tackle your DIY spray foam insulation project and start enjoying a more comfortable and energy-efficient home. Good luck!